Product Overview
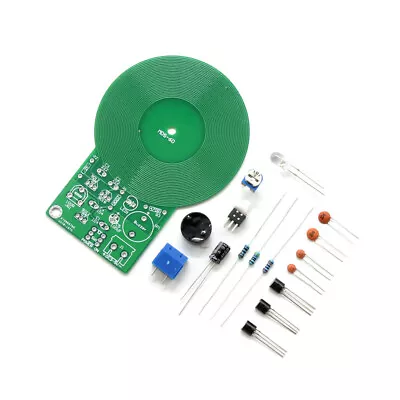
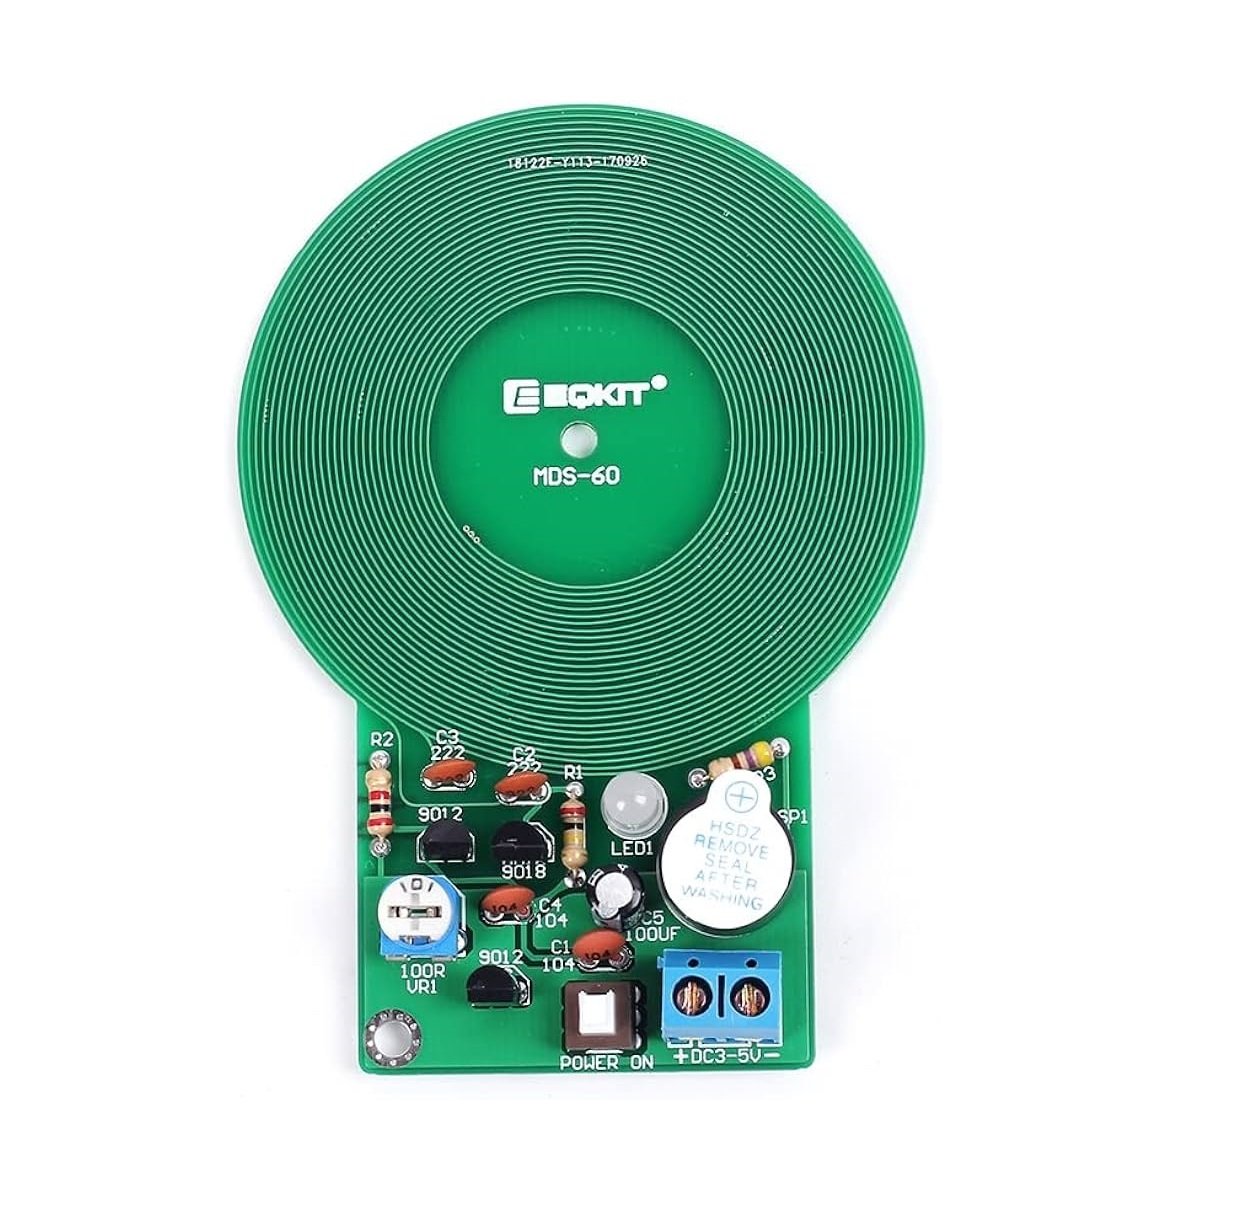
The DIY Metal Detector Kit (Not Soldered) is an educational electronics kit designed for hobbyists, students, and educators to build a functional metal detector from scratch. This unassembled kit includes all components, such as a search coil, PCB, transistors, resistors, and a buzzer, enabling users to learn circuit design, electromagnetic principles, and troubleshooting skills. Perfect for STEM projects, it offers adjustable sensitivity and detects metals like iron, copper, and aluminum up to 10cm depth. No soldering required—ideal for beginners!
Key Features
- No Soldering Needed: Pre-drilled PCB with screw terminals for easy assembly.
- Adjustable Sensitivity: Tune detection range via potentiometer.
- Audible Alert: Integrated buzzer and LED indicator for target detection.
- Educational Design: Transparent circuit layout for hands-on learning.
- Lightweight & Portable: Compact 25cm search coil for indoor/outdoor use.
- Compatibility: Operates on 9V battery (not included).
- Compliance: CE-certified for safety and educational use.
Technical Specifications
- Operating Frequency: 3–7 kHz (adjustable)
- Detection Depth: Up to 10cm (depends on object size/material)
- Power Supply: 9V DC (battery or adapter)
- Components Included: PCB, search coil, transistors, capacitors, resistors, buzzer, potentiometer, LEDs, screws, and wiring.
- Dimensions: 30x15cm (assembled)
- Weight: 450g (without battery)
Benefits
- STEM Learning: Teaches circuitry, magnetism, and signal processing.
- Cost-Effective: Affordable alternative to commercial detectors.
- Customizable: Modify sensitivity or add enhancements (e.g., smartphone interface).
- Durable: Fiberglass PCB and reinforced coil for repeated use.
- Engaging: Perfect for science fairs, classrooms, or family projects.
Usage Instructions
- Unboxing: Inventory all components using the included checklist.
- Assembly: Attach components to the PCB via screw terminals (follow manual’s wiring diagram).
- Coil Setup: Connect the search coil to the PCB using provided wires.
- Power Up: Insert a 9V battery and turn the potentiometer to calibrate sensitivity.
- Testing: Wave the coil over metal objects; adjust sensitivity until the buzzer/LED activates.
- Troubleshooting: Use the manual’s flowchart to diagnose issues (e.g., weak signal).
Safety & Storage
- Handling: Avoid contact with water; disconnect battery when not in use.
- Storage: Keep in a dry, cool place; store components in anti-static bags.
- Operational Limits: Do not expose to high-voltage sources or extreme temperatures.
- Age Recommendation: Suitable for ages 12+ with adult supervision.
Applications
- STEM education and electronics workshops
- Backyard treasure hunting and coin detection
- Security training demonstrations
- Archaeology or geology field practice (light use)
- Hobbyist electronics experimentation
Why Choose This DIY Metal Detector Kit?
This kit bridges education and entertainment, offering a hands-on introduction to electronics and electromagnetism. Its solder-free design, adjustable sensitivity, and CE certification make it ideal for classrooms, makerspaces, or curious minds eager to explore the science behind metal detection. Assemble, learn, and discover hidden metals with this engaging and reusable kit!
Only logged in customers who have purchased this product may leave a review.



Reviews
There are no reviews yet.