
موديول سنسور كشف المطر
يُشترى معاً عادةً
 هذا المنتج
موديول سنسور كشف المطر
عن هذا المنتج
How Rain Sensor Works and Interface it with Arduino

With the weather being as unpredictable as ever, it’s easy to leave your skylights open, only for it to suddenly start raining, leaving the interior below at risk. With this rain sensor, however, you can stop this from happening.
You can use this sensor to monitor rain or slushy snow/hail and send closure requests to electronic shutters, windows, awnings or skylights whenever the rain is detected.
How Rain Sensor works?
The working of the rain sensor is pretty straightforward.
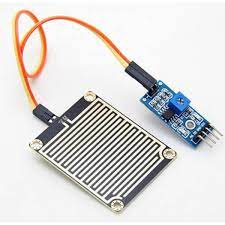
The sensing pad with series of exposed copper traces, together acts as a variable resistor (just like a potentiometer) whose resistance varies according to the amount of water on its surface.

This resistance is inversely proportional to the amount of water:

- The more water on the surface means better conductivity and will result in a lower resistance.
- The less water on the surface means poor conductivity and will result in a higher resistance.
The sensor produces an output voltage according to the resistance, which by measuring we can determine whether it’s raining or not
The Sensing Pad
The sensor contains a sensing pad with series of exposed copper traces that is placed out in the open, possibly over the roof or where it can be affected by rainfall.
Usually these traces are not connected but are bridged by water.

The Module

You can set a threshold by using a potentiometer; So that when the amount of water exceeds the threshold value, the module will output LOW otherwise HIGH.
Rotate the knob clockwise to increase sensitivity and counterclockwise to decrease it.

Apart from this, the module has two LEDs. The Power LED will light up when the module is powered. The Status LED will light up when the digital output goes LOW.
Rain Sensor Pinout
The rain sensor is super easy to use and only has 4 pins to connect.

AO (Analog Output) pin gives us an analog signal between the supply value (5V) to 0V.
DO (Digital Output) pin gives Digital output of internal comparator circuit. You can connect it to any digital pin on an Arduino or directly to a 5V relay or similar device.
GND is a ground connection.
VCC pin supplies power for the sensor. It is recommended to power the sensor with between 3.3V – 5V. Please note that the analog output will vary depending on what voltage is provided for the sensor.
Wiring Rain Sensor with Arduino
Let’s hook the rain sensor up to the Arduino.
First you need to supply power to the sensor. For that you may connect the VCC pin on the module to 5V on the Arduino.
However, one commonly known issue with these senors is their short lifespan when exposed to a moist environment. Having power applied to the sensing pad constantly, speeds the rate of corrosion significantly.
To overcome this, we recommend that you do not power the sensor constantly, but power it only when you take the readings.
An easy way to accomplish this is to connect the VCC pin to a digital pin of an Arduino and set it to HIGH or LOW as as per your requirement.
Also the total power drawn by the module (with both LEDs lit) is about 8 mA, so it is okay to power the module off a digital pin on an Arduino.
So, let’s connect the VCC pin on the module to the digital pin #7 of an Arduino and GND pin to ground.
Finally, connect the DO pin on the module to the digital pin #8 on your Arduino.
The following illustration shows the wiring.

Calibrating Rain Sensor
To get accurate readings out of your rain sensor, it is recommended that you first calibrate it.
The module has a built-in potentiometer for calibrating the digital output (DO).
By turning the the knob of the potentiometer, you can set a threshold. So that when the amount of water exceeds the threshold value, the Status LED will light up and the digital output (DO) will output LOW.
Now to calibrate the sensor, sprinkle some water on the sensing pad and adjust the pot clockwise so that the Status LED is ON and then adjust the pot back counterclockwise just until the LED goes OFF.
That’s it your sensor is now calibrated and ready for use.
Detecting Rain – Arduino Code
Once the circuit is built, upload the following sketch to your Arduino.
Now place the rain sensor in a location such that precipitation can fall directly into the sensor, possibly over the roof. Also place it slightly tilted (~20°) to facilitate the flow of water.
Note that the electronic module is not designed to be waterproof, be careful to install it so that only the sensing pad will come in contact with water.
// Sensor pins
#define sensorPower 7
#define sensorPin 8
voidsetup() {
pinMode(sensorPower, OUTPUT);
// Initially keep the sensor OFF
digitalWrite(sensorPower, LOW);
Serial.begin(9600);
}
voidloop() {
//get the reading from the function below and print it
int val = readSensor();
Serial.print("Digital Output: ");
Serial.println(val);
// Determine status of rain
if (val) {
Serial.println("Status: Clear");
} else {
Serial.println("Status: It's raining");
}
delay(1000); // Take a reading every second
Serial.println();
}
// This function returns the sensor output
intreadSensor() {
digitalWrite(sensorPower, HIGH); // Turn the sensor ON
delay(10); // Allow power to settle
int val = digitalRead(sensorPin); // Read the sensor output
digitalWrite(sensorPower, LOW); // Turn the sensor OFF
return val; // Return the value
}
Once the sketch is uploaded, open a Serial Monitor window to see the output from the Arduino. You should see a digital output HIGH when the weather is clear. To see it sense water, you can sprinkle some water on the sensing pad.

المواصفات التقنية
بنسجل المواصفات التقنية للمنتج ده وهتظهر هنا أول ما تخلص.
التقييمات
كن أول واحد يقيّمه وتساعد اللي بعدك يقرر.
الأسئلة الشائعة
أول ما توصلنا أسئلة متكررة على المنتج ده هنجاوب عليها هنا.
منتجات مرتبطة
قد يعجبك أيضاً
 متاح للطلب
سنسورات مياه وسوائل
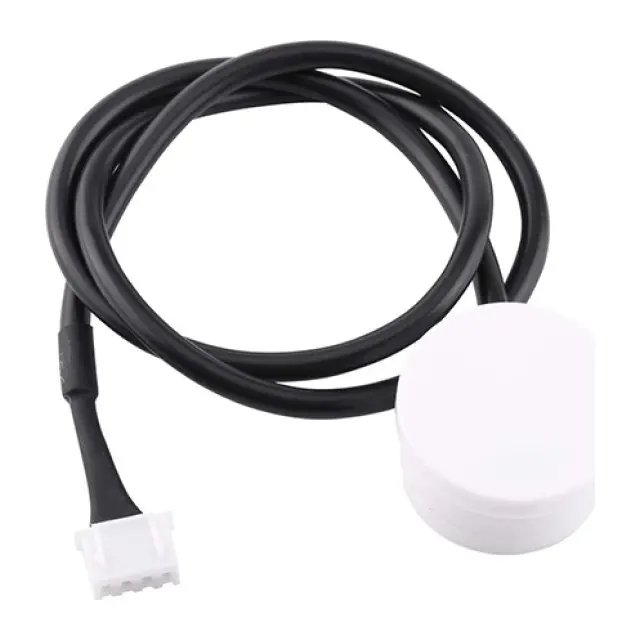
سنسور قياس مستوى السوائل بدون تلامس XKC-Y25 PNP (5 إلى 12 فولت)
 متاح للطلب
سنسورات مياه وسوائل
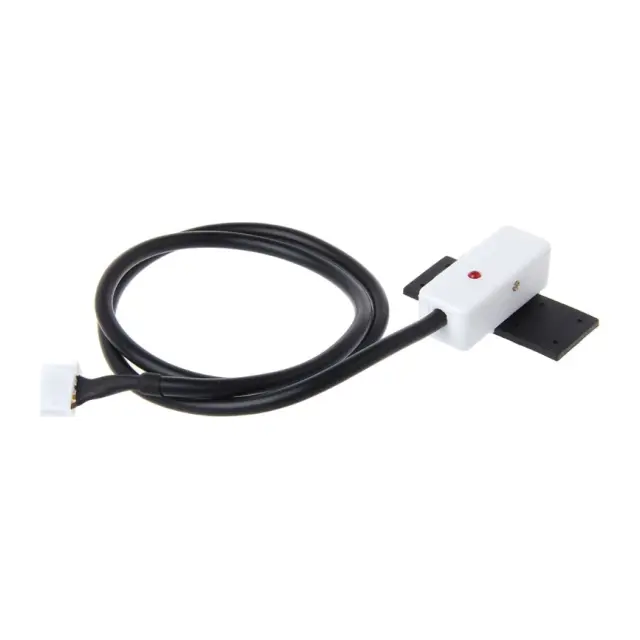
سنسور قياس مستوى السوائل بدون تلامس XKC-Y26 PNP (5 إلى 12 فولت)
 آخر قطعتين
 متوفر
متوفر
 متوفر
متوفر
 متاح للطلب
 متوفر
متوفر
 متوفر
متوفر